When winter sets in around St. Louis, your pavers can take a beating. Between the freezing nights, mild afternoons, and all the moisture in between, it’s not just about cold it’s about constant stress on every joint and edge. Winterizing your pavers simply means getting ahead of those problems so you don’t wake up in March to cracks, loose stones, or uneven surfaces. Here’s the thing: St. Louis averages over 14 inches of snowfall each winter, and with frequent temperature swings between 20°F and 50°F, your pavers can take a real beating. Clay-heavy soils in the region also expand and contract with moisture, making proper preparation even more important. So what’s the fix? It’s not just one thing. It’s a mix of sealing, good drainage, smart snow removal, and a few key habits that keep your hardscape in good shape all winter. If you’ve invested in pavers, this is how you protect them.
Why Winter Damages Pavers in St. Louis
Winters in St. Louis it’s not just the cold that causes damage. It’s the back-and-forth. One day it’s 28°F, the next it’s in the 40s and raining. Then it freezes again overnight. That cycle repeats dozens of times each season over 100 freeze-thaw events on average, according to NOAA.
What causes pavers to crack or shift during winter?
The main culprit is water. When moisture seeps below the surface of your pavers and freezes, it expands. That pressure lifts pavers up (called frost heave), pushes them out of place, or cracks them outright. You’ll notice this most on walkways and patios with poor compaction underneath spots where the base wasn’t compacted properly, or where water pools and sits. It’s not always visible right away, but once spring hits, you’ll see edges lifting, joints widening, and sometimes entire sections out of level.
Which paver materials are most vulnerable to frost damage?
Some materials hold up better than others but none are immune.
-
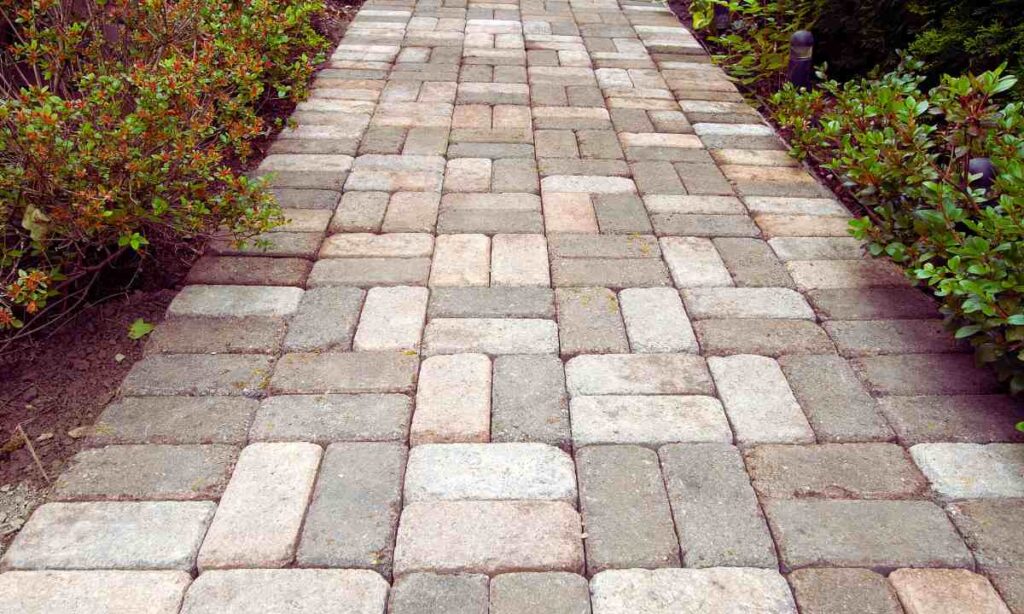
Clay bricks look great but are highly porous. They soak up water like a sponge, which makes them more likely to crack during deep freezes.
-
Natural stone can be hit or miss. Materials like flagstone often have uneven density, which leads to cracking along weaker sections if moisture gets in.
-
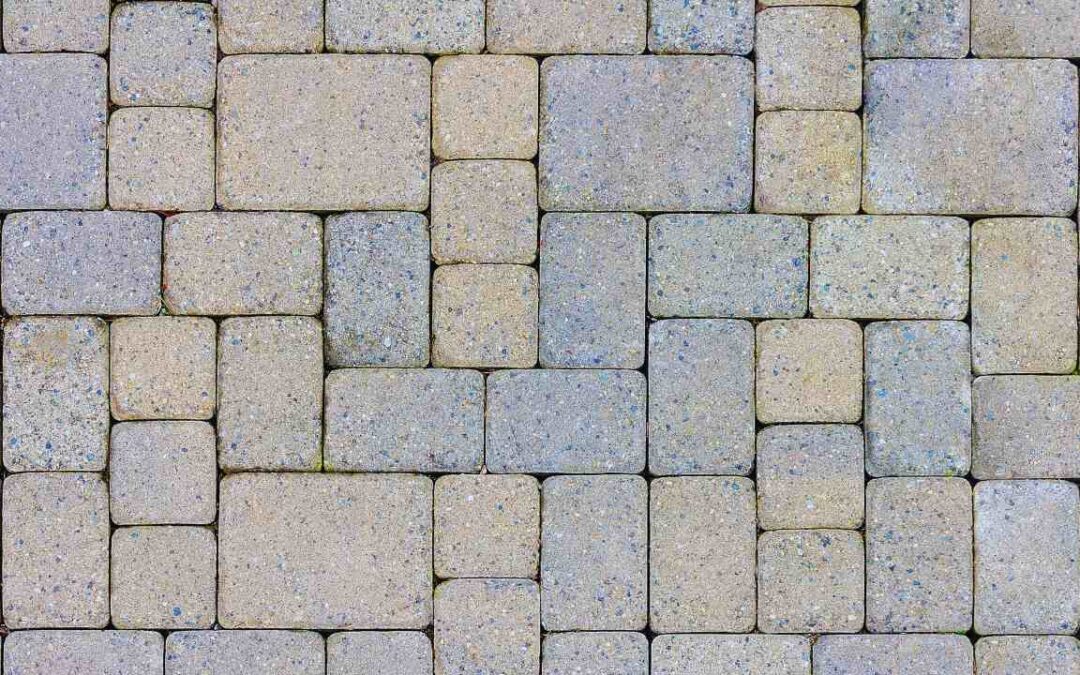
Concrete pavers, especially interlocking ones, are more uniform and hold up well if they’re sealed and installed over a solid base.
Step-by-Step Guide to Winterize Your Pavers Properly
Let’s break it down winterizing isn’t complicated, but it does take a bit of prep. Think of it like getting your car ready for winter. If you skip the basics, you’ll end up paying for it come spring. Here’s how to set your pavers up to survive another St. Louis freeze season.
Step 1: Inspect and clean your paver surfaces
Start with a clean slate. Leaves, moss, and mildew aren’t just messy they trap moisture and break down your pavers over time. Sweep everything off, then pressure wash using a fan tip at under 1500 PSI to avoid damaging edges.
Use something biodegradable like Simple Green Outdoor if there’s staining or algae. Once you’ve cleaned them, let the surface dry completely at least 24 hours without rain before doing anything else.
Step 2: Check for joint sand loss and re-sand if needed
If your joints look washed out or patchy, you’ll want to re-sand using polymeric sand. Sweep it into the gaps, run a plate compactor over the surface to settle it in, then mist it lightly with water to activate the binding agents. This locks everything in place, prevents weeds and ants, and helps block water from sneaking in during freeze-thaw cycles.
Step 3: Seal your pavers before freezing temps hit
This is your main line of defense. Seal in early fall think September or October while temperatures are still reliably above 50°F and there’s no rain in the forecast. Stick with a breathable, penetrating sealer designed for freeze resistance. Avoid anything that forms a shiny film on top high-gloss sealers trap moisture, which makes things worse in winter.
Step 4: Fix drainage issues to stop pooling and runoff
Paver damage often starts from below. If water collects on or around your patio or walkway, you’re inviting trouble. Double-check that your surface has at least a 1% slope away from the foundation. If it doesn’t, consider adding a gravel trench or even a small French drain at the edge. Don’t forget to look up too gutters and downspouts dumping onto pavers are a common source of pooling.
Step 5: Prep for safe snow & ice removal
Once winter hits, maintenance matters. Metal snow shovels and snowblower blades can scrape and chip edges. Stick with plastic-edged tools or rubber-blade snow pushers. For deicing, skip the rock salt it corrodes surfaces and wrecks nearby soil. Use calcium magnesium acetate or a pet-safe alternative instead. They’re gentler on both your hardscape and the environment.
Local Climate Considerations for St. Louis Homeowners
St. Louis winters aren’t just cold, they’re unpredictable. One week you’re grilling in a hoodie, the next you’re shoveling six inches of wet snow off the driveway. That freeze–thaw rollercoaster is brutal on pavers if you’re not prepared.
How does St. Louis weather impact pavers in winter?
The freeze–thaw cycle is the big one. St. Louis sees over 100 freeze–thaw days a year, and that constant expansion and contraction puts stress on every joint and surface. If water sneaks into the base, it freezes, expands, and forces the pavers to shift, crack, or lift classic frost heave. Wet snow is another culprit. It saturates the joints and pores, especially in older patios that haven’t been sealed, and when that water freezes? Game over you’ll see cracks, crumbling edges, and shifting patterns come spring.
In tree-heavy areas like Kirkwood or Maplewood, winter moisture combined with limited sun exposure leads to moss, mildew, and algae, which hold water against the surface and speed up deterioration. It’s not just cosmetic that green layer can lead to long-term damage.
When should winter prep start in Missouri?
Aim to winterize between late September and early November. Based on National Weather Service data, first frost usually lands mid-October, but it varies year to year. That’s why sealing and drainage fixes need to be done before the cold sets in. One more thing: don’t seal below 50°F or if there’s rain expected within 48 hours. Doing it under the wrong conditions traps moisture and wastes the sealer and that’s a costly redo.
What Happens If You Skip Winterizing Pavers?
if you ignore winter prep, you’re betting against Midwest weather. And year after year, that’s a bet most patios lose.
Common problems after a harsh winter
Here’s what the team at RWPS sees every spring: cracked pavers, eroded joints, and frost-heaved sections that look more like a rollercoaster than a walkway. Weeds sprout up through weakened joints, and moisture left in unsealed pavers leads to white efflorescence stains that are tough to remove. And when that once-smooth patio surface turns uneven? It’s not just an eyesore it becomes a trip hazard, especially for families or older homeowners.
Real homeowner complaints
You’ll find plenty of folks online wishing they’d done more. A few examples:
-
“$4,000 patio started shifting after one winter — contractor said I should’ve sealed it.”
-
“Didn’t seal and now algae everywhere. It’s slippery and gross.”
-
“I thought pavers were low-maintenance. Didn’t know sealing was mandatory. Now I’m paying to relevel the whole thing.”
These aren’t rare cases they’re preventable ones. Winterizing isn’t about overdoing it. It’s about protecting the investment you already made.
Do You Need a Professional for Paver Winterization in St. Louis?
Not every winterizing task needs a contractor but some absolutely do. The trick is knowing where DIY ends and expert help begins.
When DIY is fine vs when to call a contractor
If your pavers are in decent shape and you’re just looking to do basic cleaning, light re-sanding, and switching to a better deicer, you’re probably fine handling it yourself. Just be sure to follow best practices use the right pressure washer tip, sweep in polymeric sand correctly, and steer clear of rock salt.
But when things get more complex like drainage problems, shifting pavers, or a large surface that needs sealing that’s when it’s smart to bring in a pro. Improper sealing alone can trap moisture and make problems worse. And drainage work often means adjusting the base or redirecting runoff, which takes tools and know-how most homeowners don’t have in the garage.
That’s where the team at RWPS comes in. If your patio, walkway, or driveway is showing early signs of wear, we’ll inspect it, spot potential risks, and make a plan to get it winter-ready the right way. Learn more about our paver installation and sealing services in St. Louis
Cost of professional paver sealing in Missouri
Most paver sealing jobs in Missouri run between $1.50 and $3.50 per square foot, depending on the surface type, prep needed, and sealer used. That range comes from local contractors (including us) and averages on HomeAdvisor. Expect extra costs if joint sanding is needed or if you’re fixing deeper issues like drainage or frost heave. But keep this in mind sealing is cheaper than replacing pavers come spring.
If you’re not sure whether your project needs a professional eye, we’re happy to take a look and give honest feedback. Sometimes a quick fix now saves thousands later.
Winter Paver Prep: Checklist & DIY vs Pro Comparison
| Task | DIY-Friendly? | When to Hire a Pro | ROI Consideration |
|---|---|---|---|
| Surface cleaning | ✅ Yes | ❌ Only if mold/algae is severe | High — improves longevity with minimal cost |
| Joint re-sanding | ✅ Yes | ❌ Unless full resettling or base issues | Medium — prevents weeds & washout |
| Sealing pavers | ⚠️ Maybe | ✅ For large areas or first-time sealing | High — protects against winter damage |
| Drainage fixes | ❌ No | ✅ Always — grading & trenching need experience | Very High — prevents frost heave & erosion |
| Snow removal prep | ✅ Yes | ❌ Only if installing snow guards | Low — but critical for surface safety |
Final Checklist: Winter Paver Prep for St. Louis Homes
Before the cold sets in, use this checklist to make sure your pavers are ready to handle another tough Midwest winter. Print it, bookmark it, or walk through it with your contractor whatever works best for you.
-
Clear organic debris — Sweep off leaves, dirt, and moss to prevent stains and moisture traps.
-
Wash surfaces gently — Use a fan-tip pressure washer (under 1500 PSI) and a biodegradable cleaner like Simple Green Outdoor.
-
Let everything dry fully — Never seal damp pavers. Trapped water = cracking risk when it freezes.
-
Check joint sand levels — Look for gaps or erosion. Re-sand with polymeric sand if needed.
-
Compact and mist joints — Use a plate compactor and light water spray to activate binding agents.
-
Inspect your drainage — Make sure water drains away from your paver areas. Add gravel trenches or fix slope if needed.
-
Seal your pavers — Use a breathable, penetrating sealer rated for freeze-thaw climates. Aim for September or October.
-
Avoid rock salt — Use pet-safe deicers like calcium magnesium acetate. Never use metal shovels.
-
Check downspouts — Make sure roof runoff isn’t dumping water near pavers. Redirect as needed.
-
Walk the surface — Look for signs of shifting or settling before winter hits — early fixes are cheaper than spring repairs.
What this really means is: do a little now to save a lot later. Winter hits hard in St. Louis, but with the right prep, your pavers won’t just survive they’ll stay looking sharp through the thaw.
FAQs About Paver Winter Care in St. Louis
What’s the best sealer for Midwest winters?
Go with a breathable, silane or siloxane-based sealer. These formulas let moisture escape, which is key for freeze-thaw conditions. Look for pro-grade brands like Techni seal or SEK-Sure bond both are known to hold up well in St. Louis’s wet, cold winters. Avoid anything high-gloss or film-forming unless you’re sure your base stays dry year-round.
Can I use a pressure washer to clean pavers before sealing?
Yes — but gently. Keep the PSI under 1500, use a fan-tip nozzle, and hold the wand at an angle. The goal is to lift dirt without etching the surface. If you blast too hard, you can rough up the pavers or blow out joint sand — and that just adds more work before you seal.
Will deicers void my paver warranty?
Usually, yes — if they’re salt-based. Most manufacturers warn against using sodium chloride or similar salts, especially on concrete pavers. They can cause surface flaking, discoloration, and long-term erosion. If warranty coverage matters, stick with calcium magnesium acetate (CMA) or a pet-safe, chloride-free deicer.
Will deicers void my paver warranty?
Yes — most manufacturers void warranties if chloride-based salts are used. These deicers speed up surface damage, cause scaling, and lead to efflorescence (that white, powdery staining). Over time, they weaken the surface and compromise the structure. Always read the fine print — most product warranties clearly exclude chemical damage caused by salt-based products.
Winterizing Keeps Your Pavers Safe, Beautiful, and Long-Lasting
Winter hits hard in St. Louis and your pavers feel it first. Taking time in early fall to clean, inspect, and seal your hardscaping isn’t just about curb appeal. It’s protection against cracking, shifting, and costly repairs once the freeze-thaw cycle ramps up. Local weather isn’t forgiving. With over 100 freeze-thaw swings each year and moisture-heavy snow, neglecting prep is like skipping sunscreen at the lake the damage creeps up fast. Even with the most durable materials, water infiltration and poor drainage will eventually show in loose joints, lifted bricks, or mossy build-up. It’s a small investment in time and care that pays off every time the snow melts. Whether you’re prepping a patio in Webster Groves or protecting a driveway in Ballwin, these five steps can help keep your hardscape solid and good-looking through winter. If you’re not sure where to start, a quick inspection from the team at Retaining Wall & Paving Solutions St. Louis, Missouri can show you exactly what your space needs and how to keep yours in shape for the long haul.